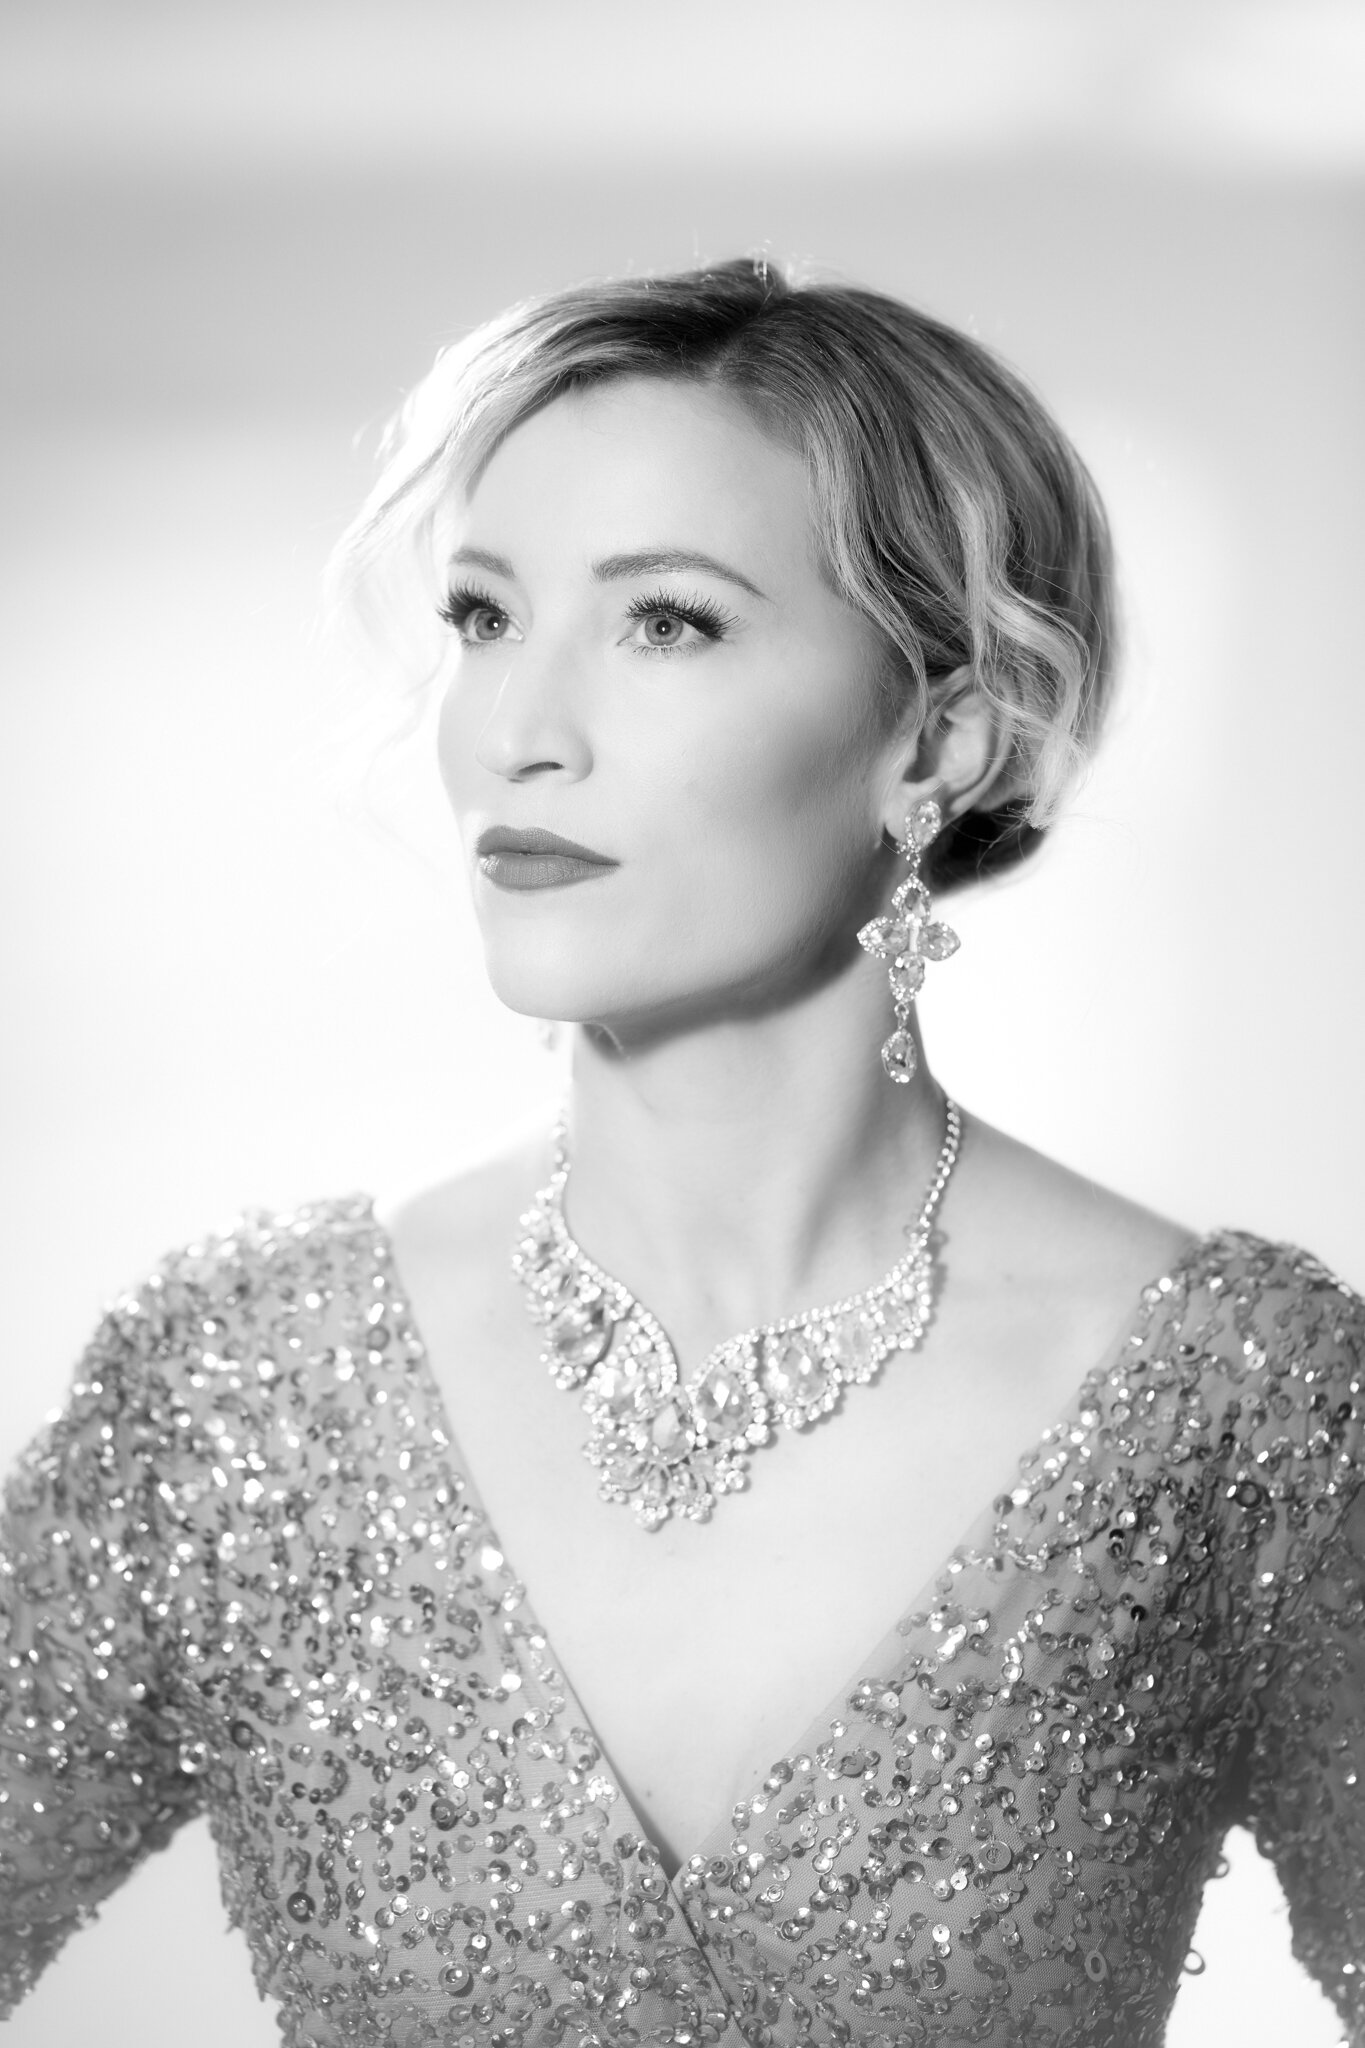
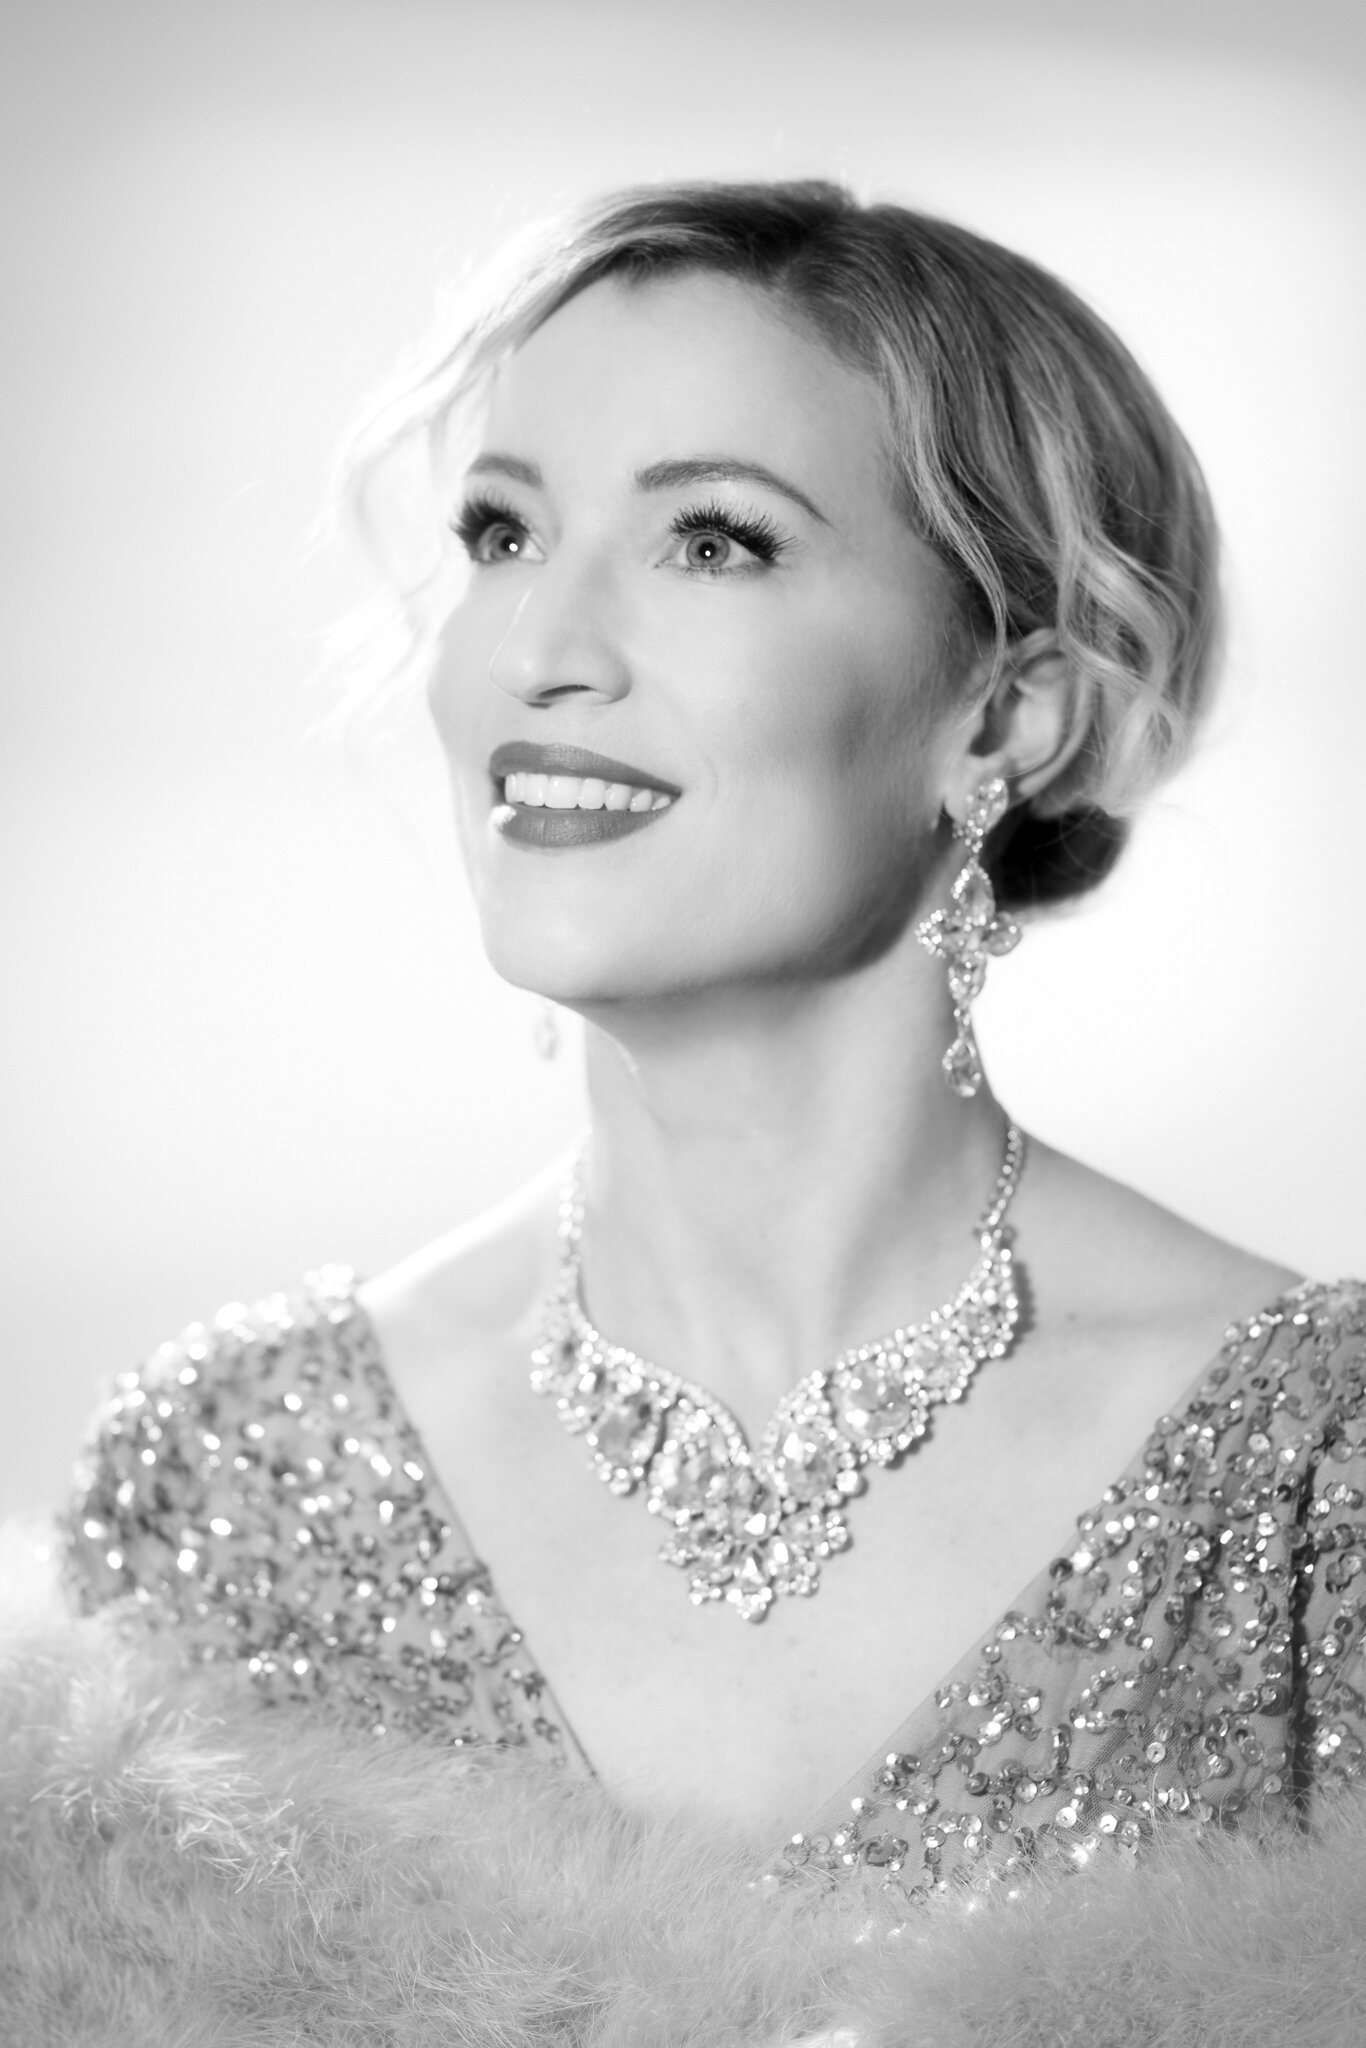
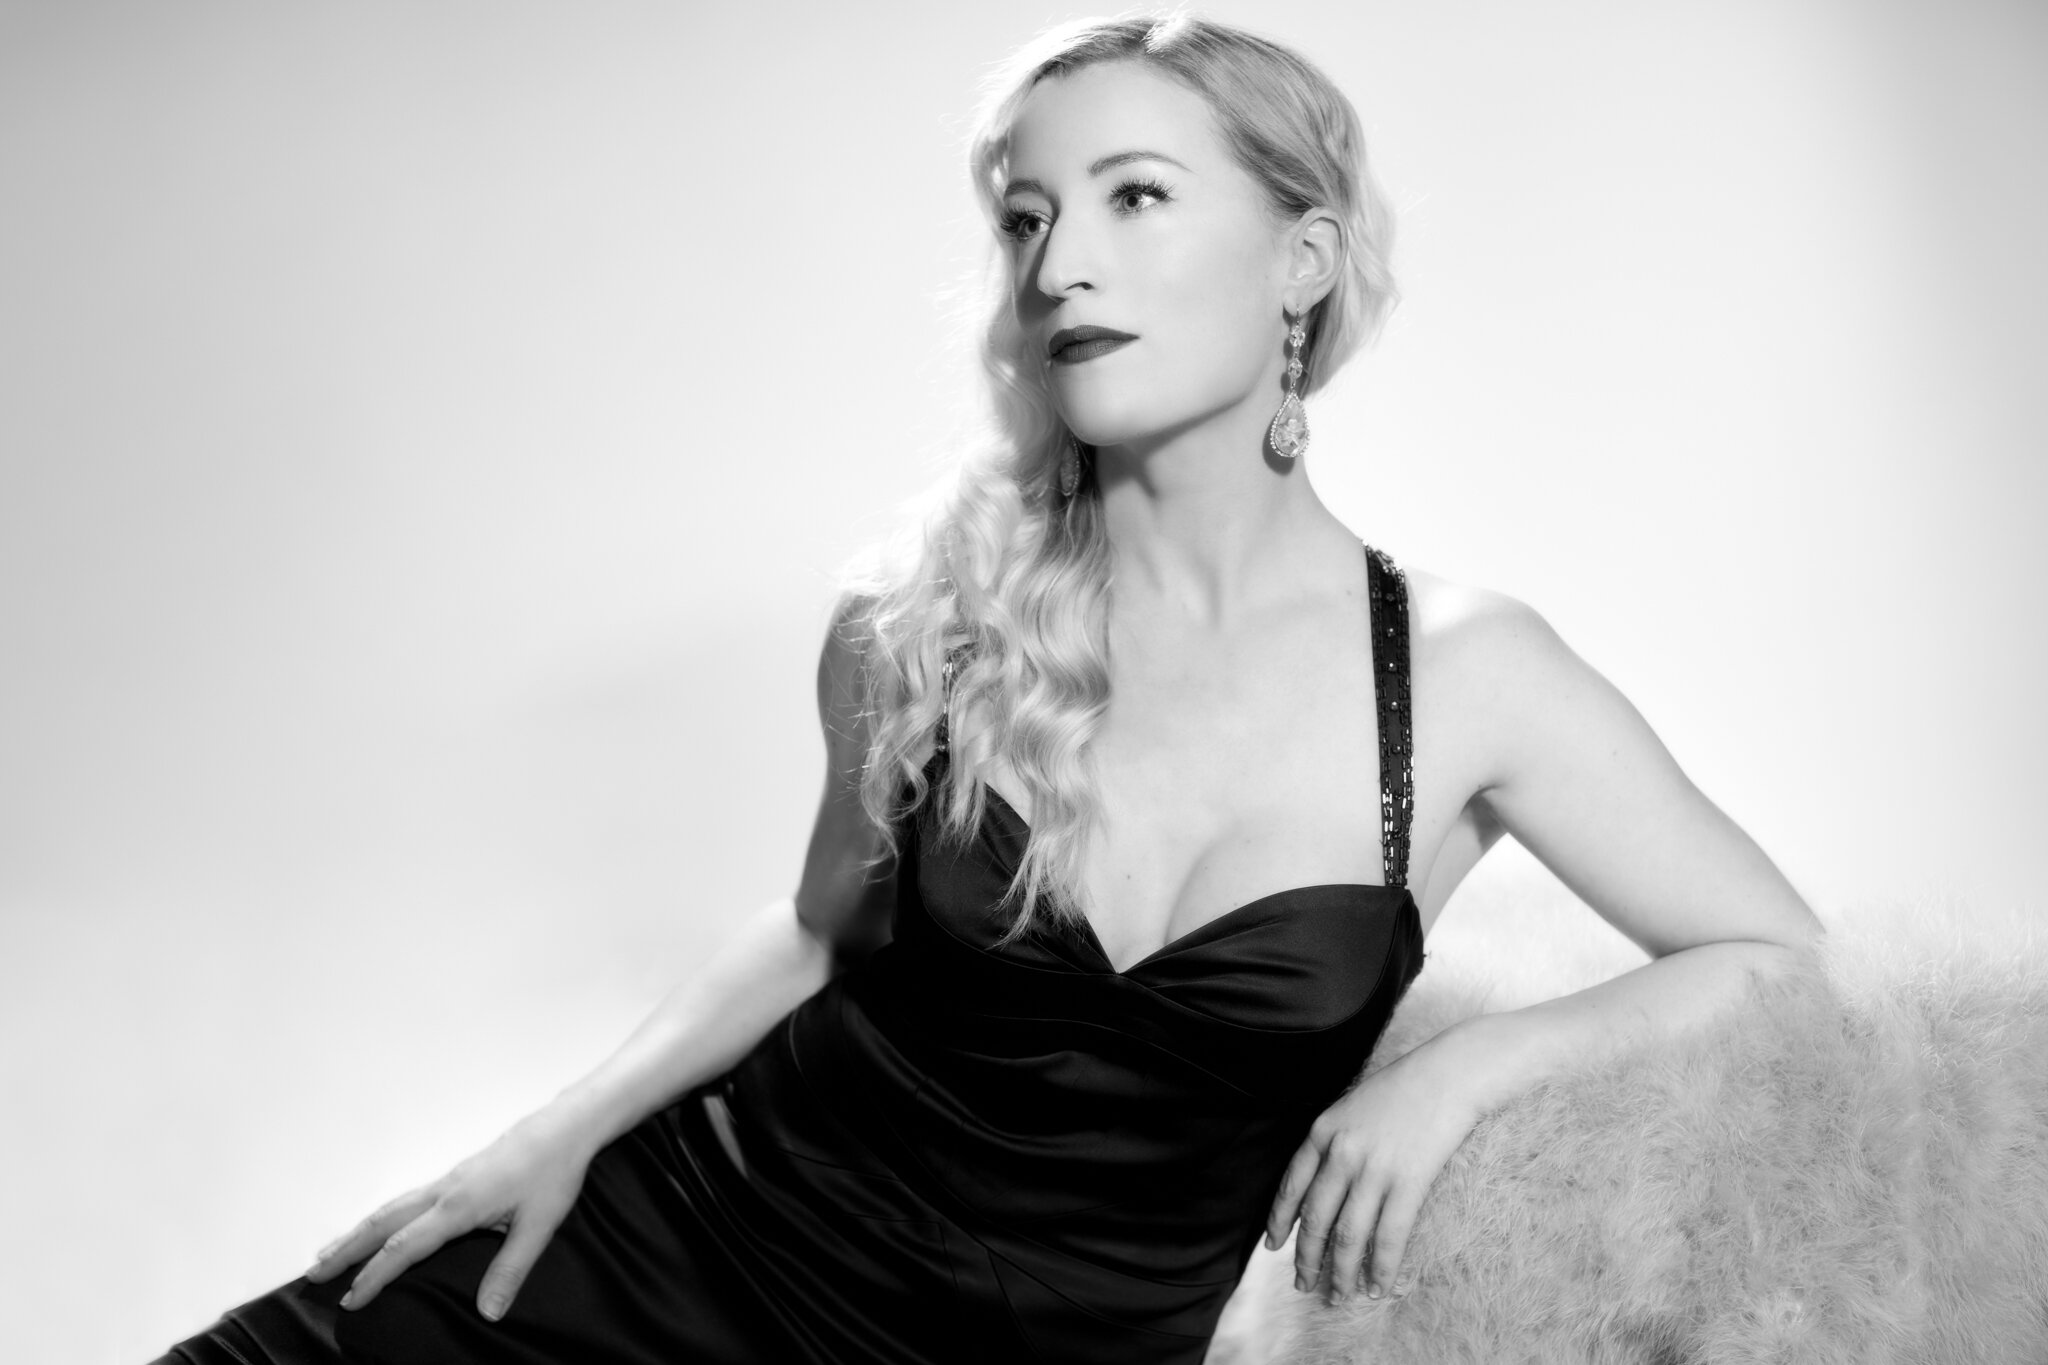
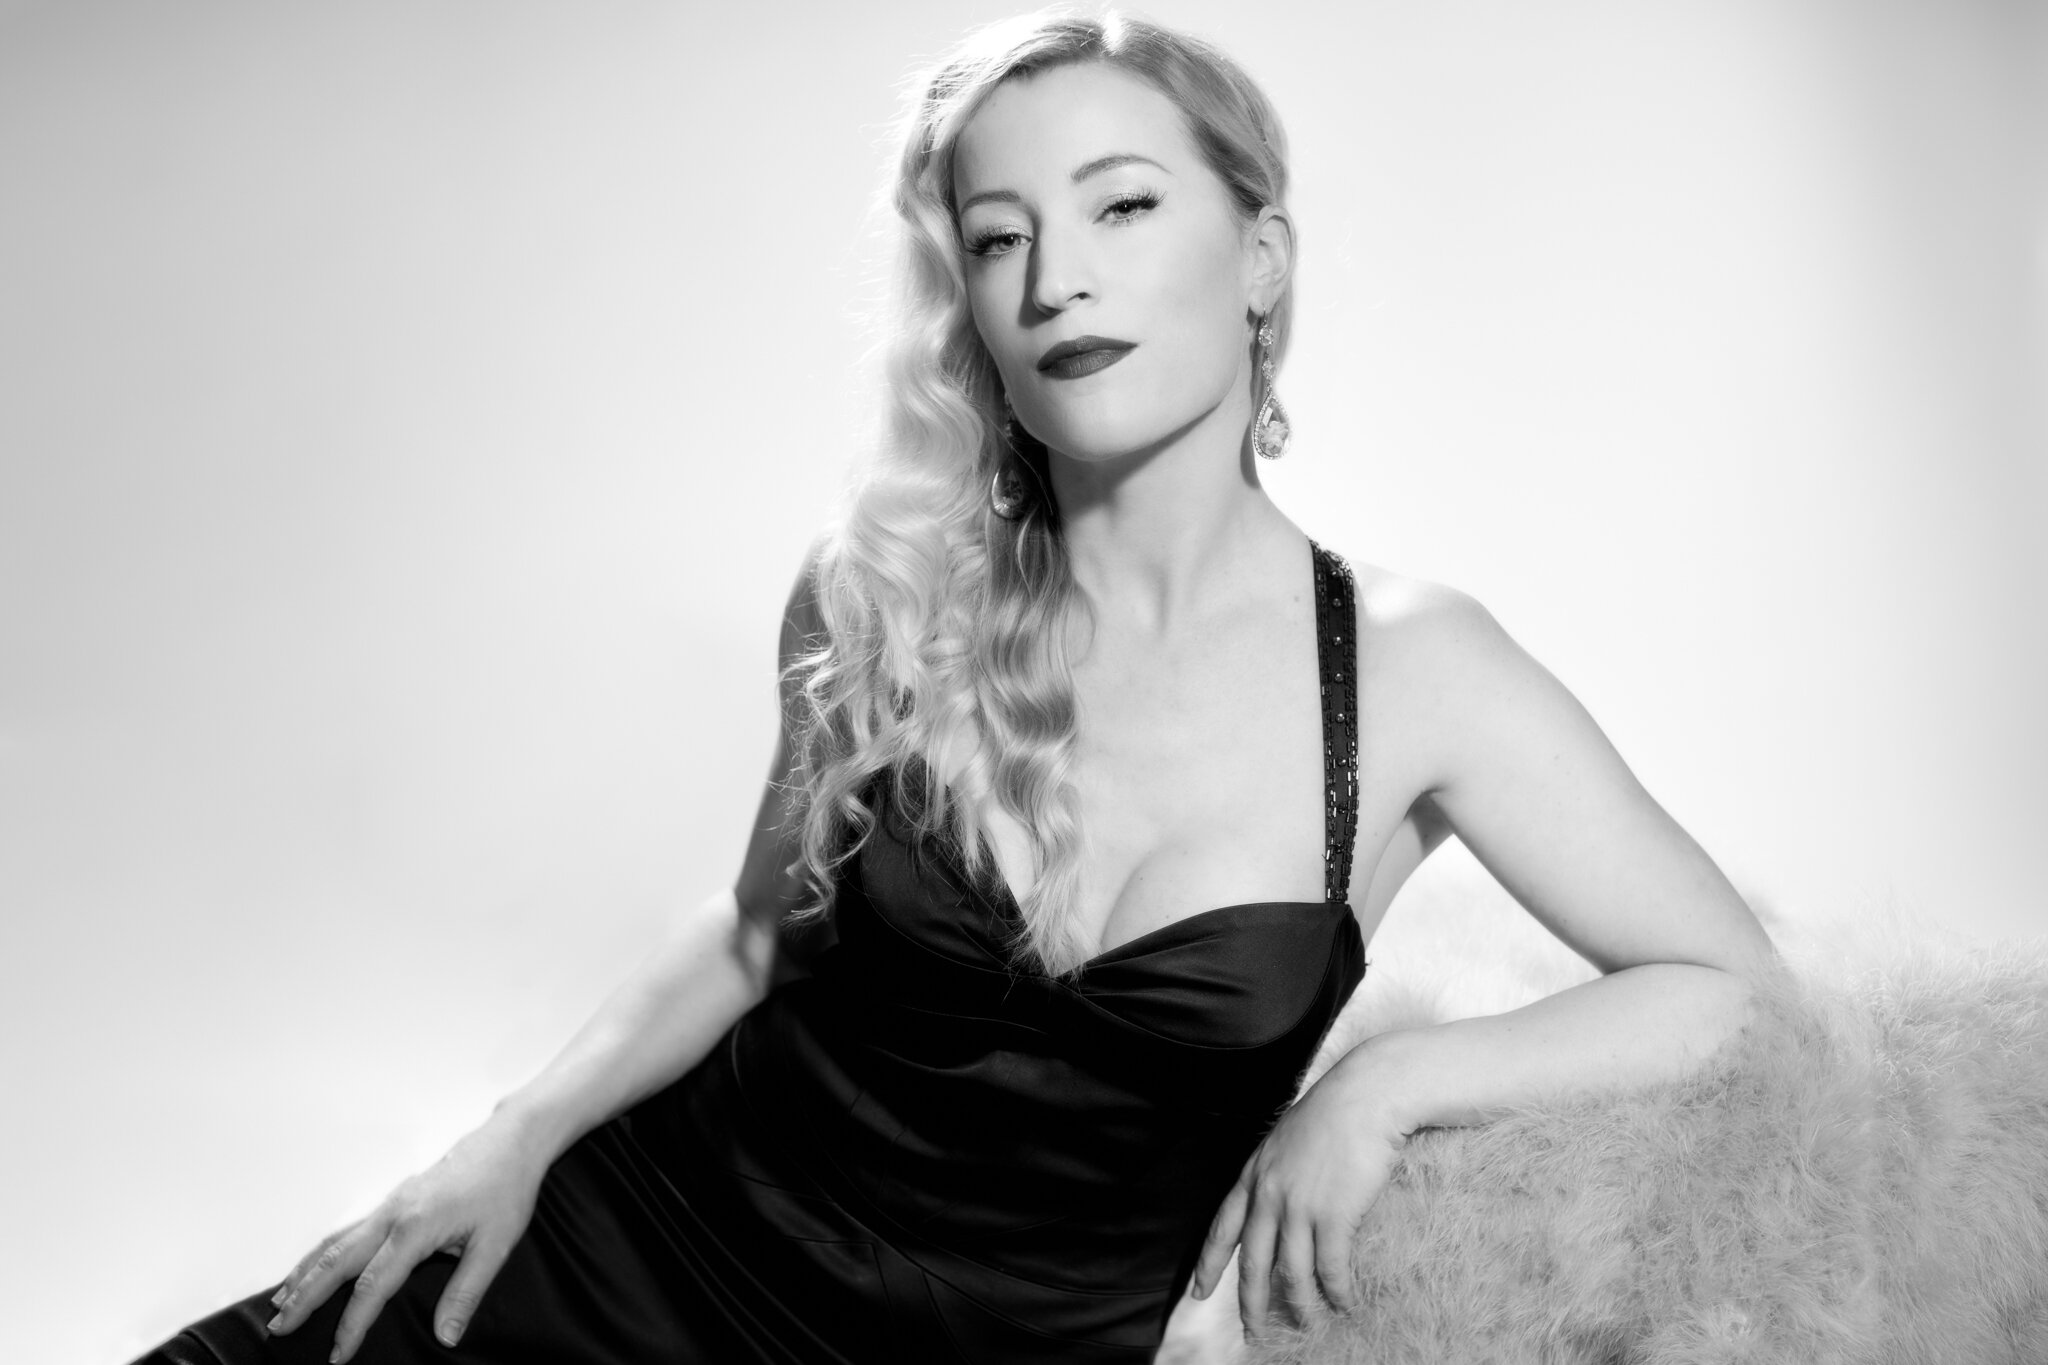
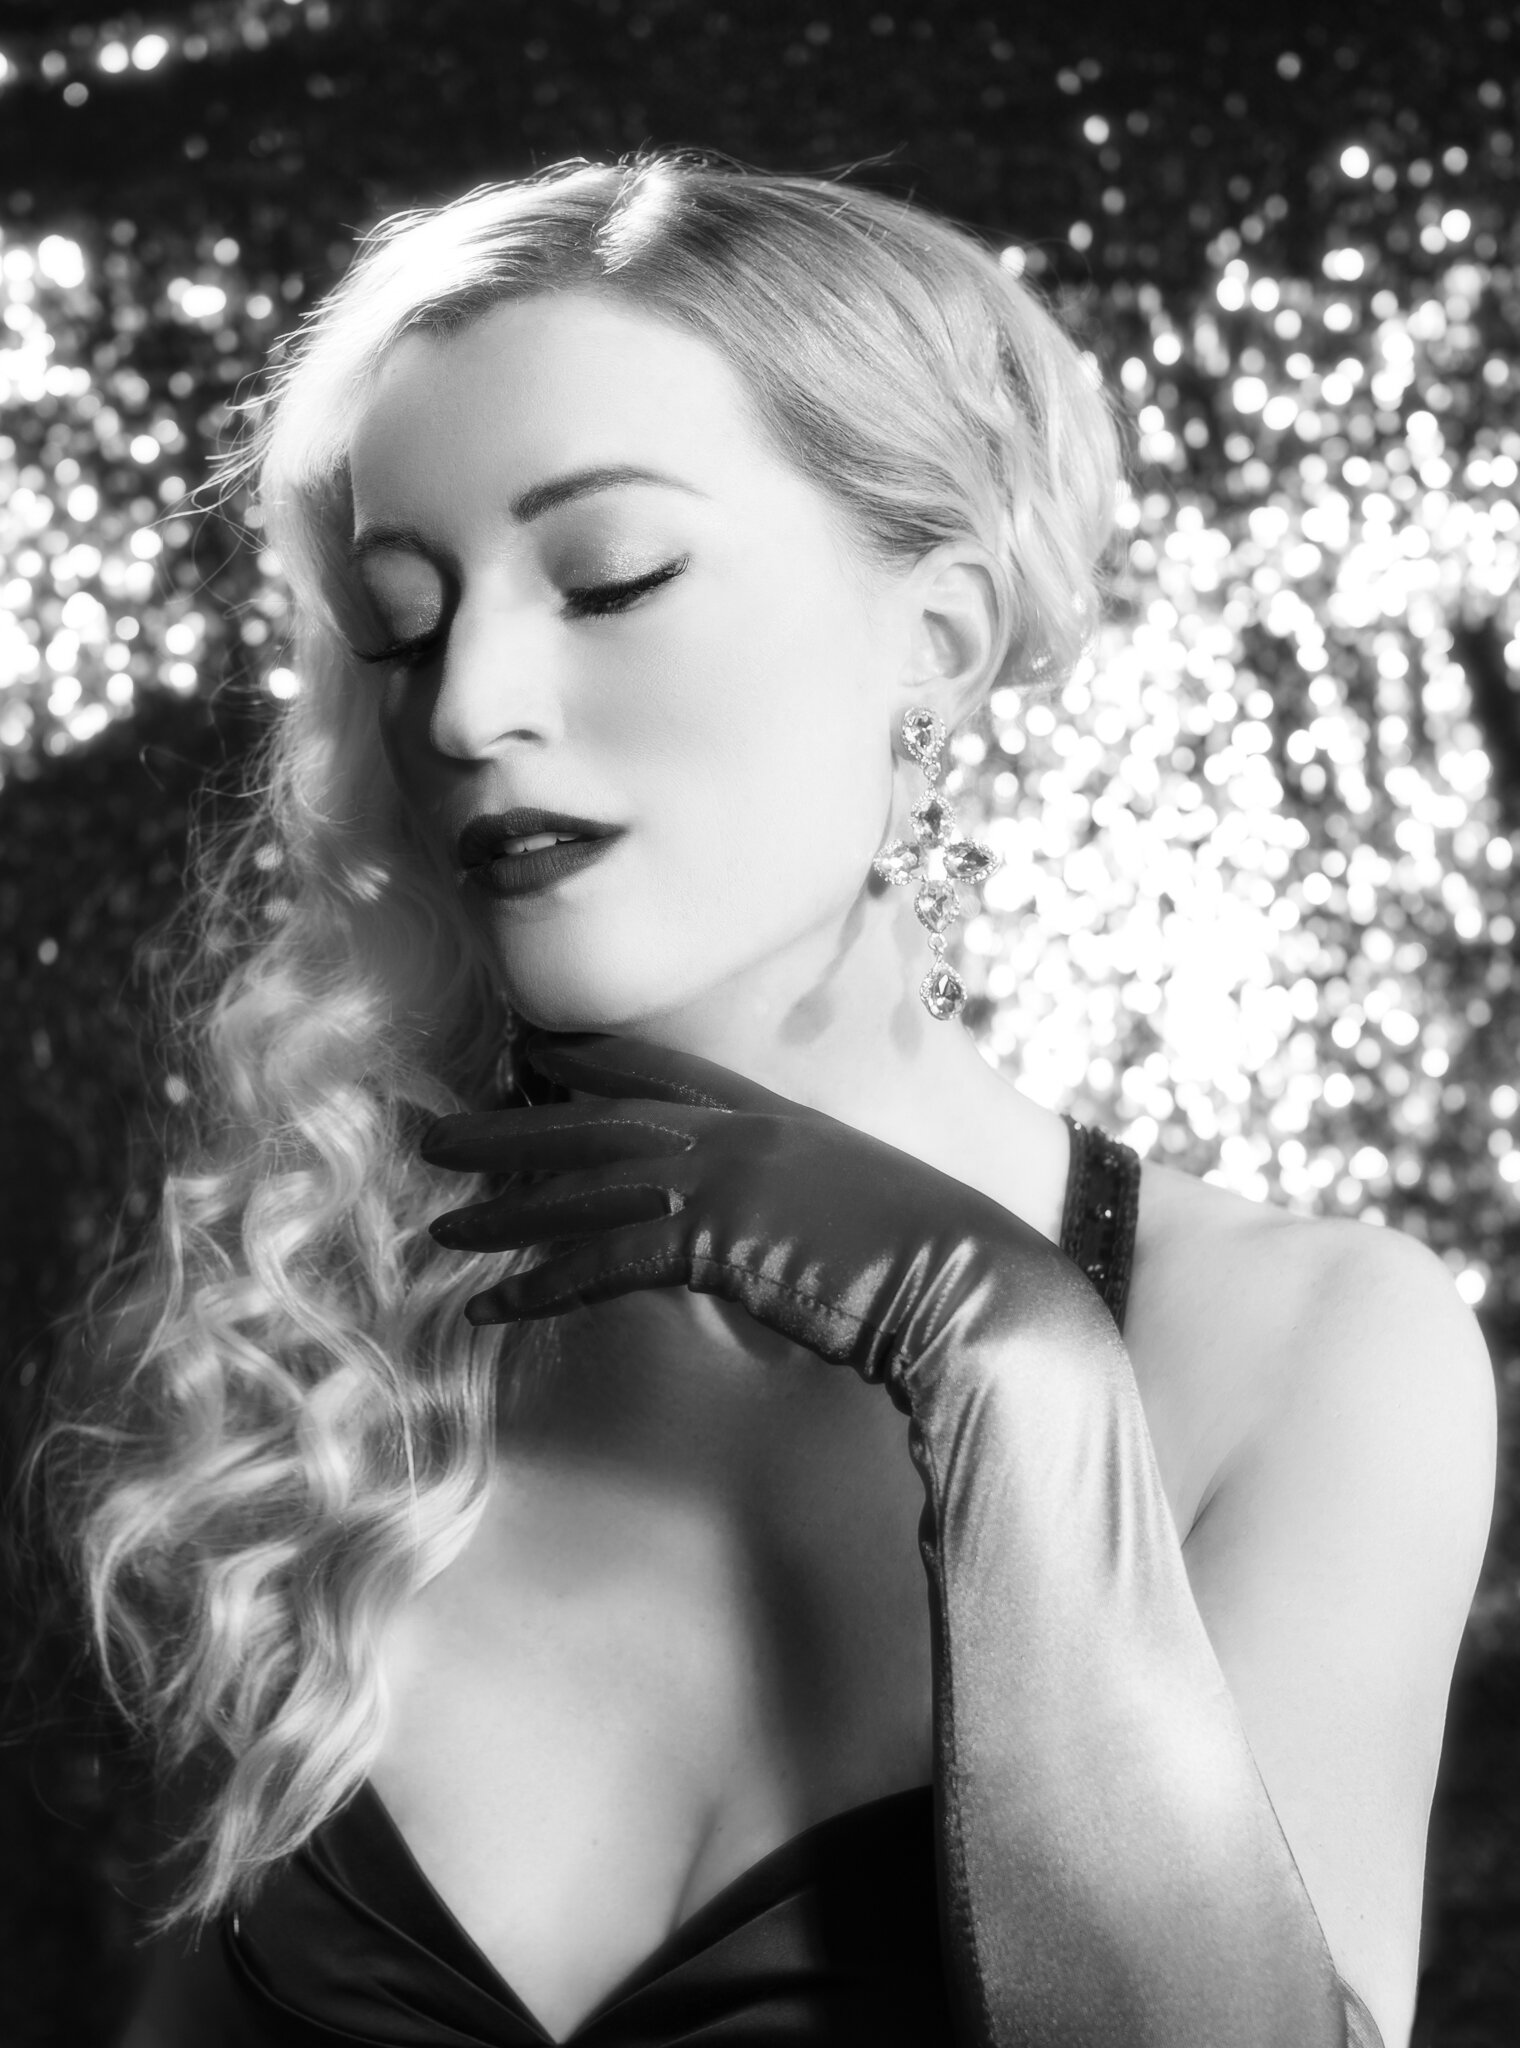
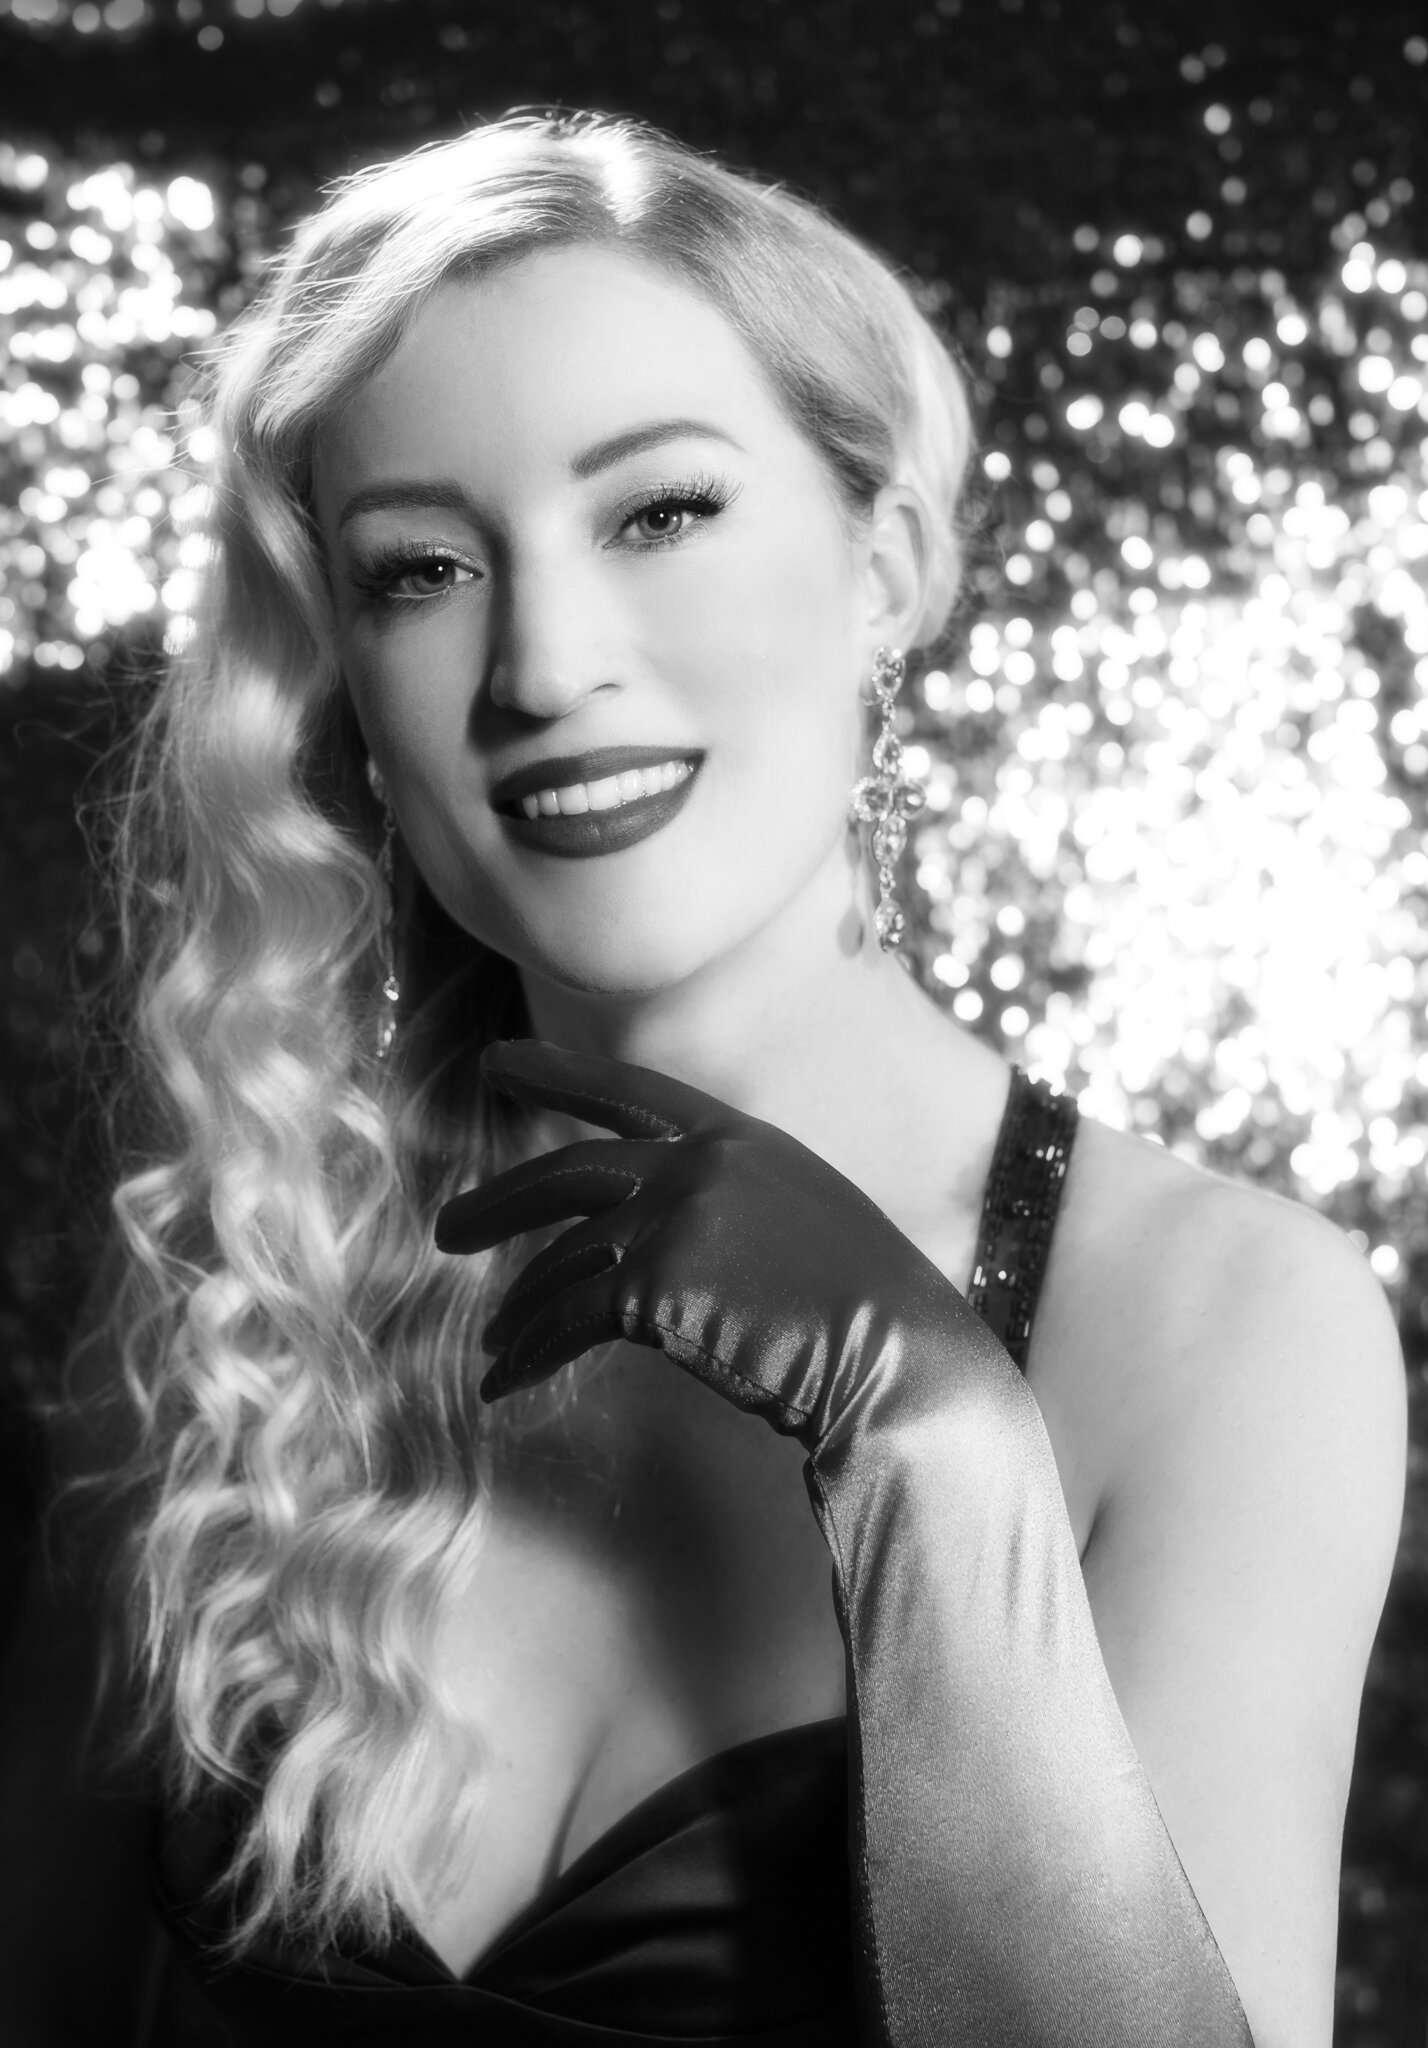
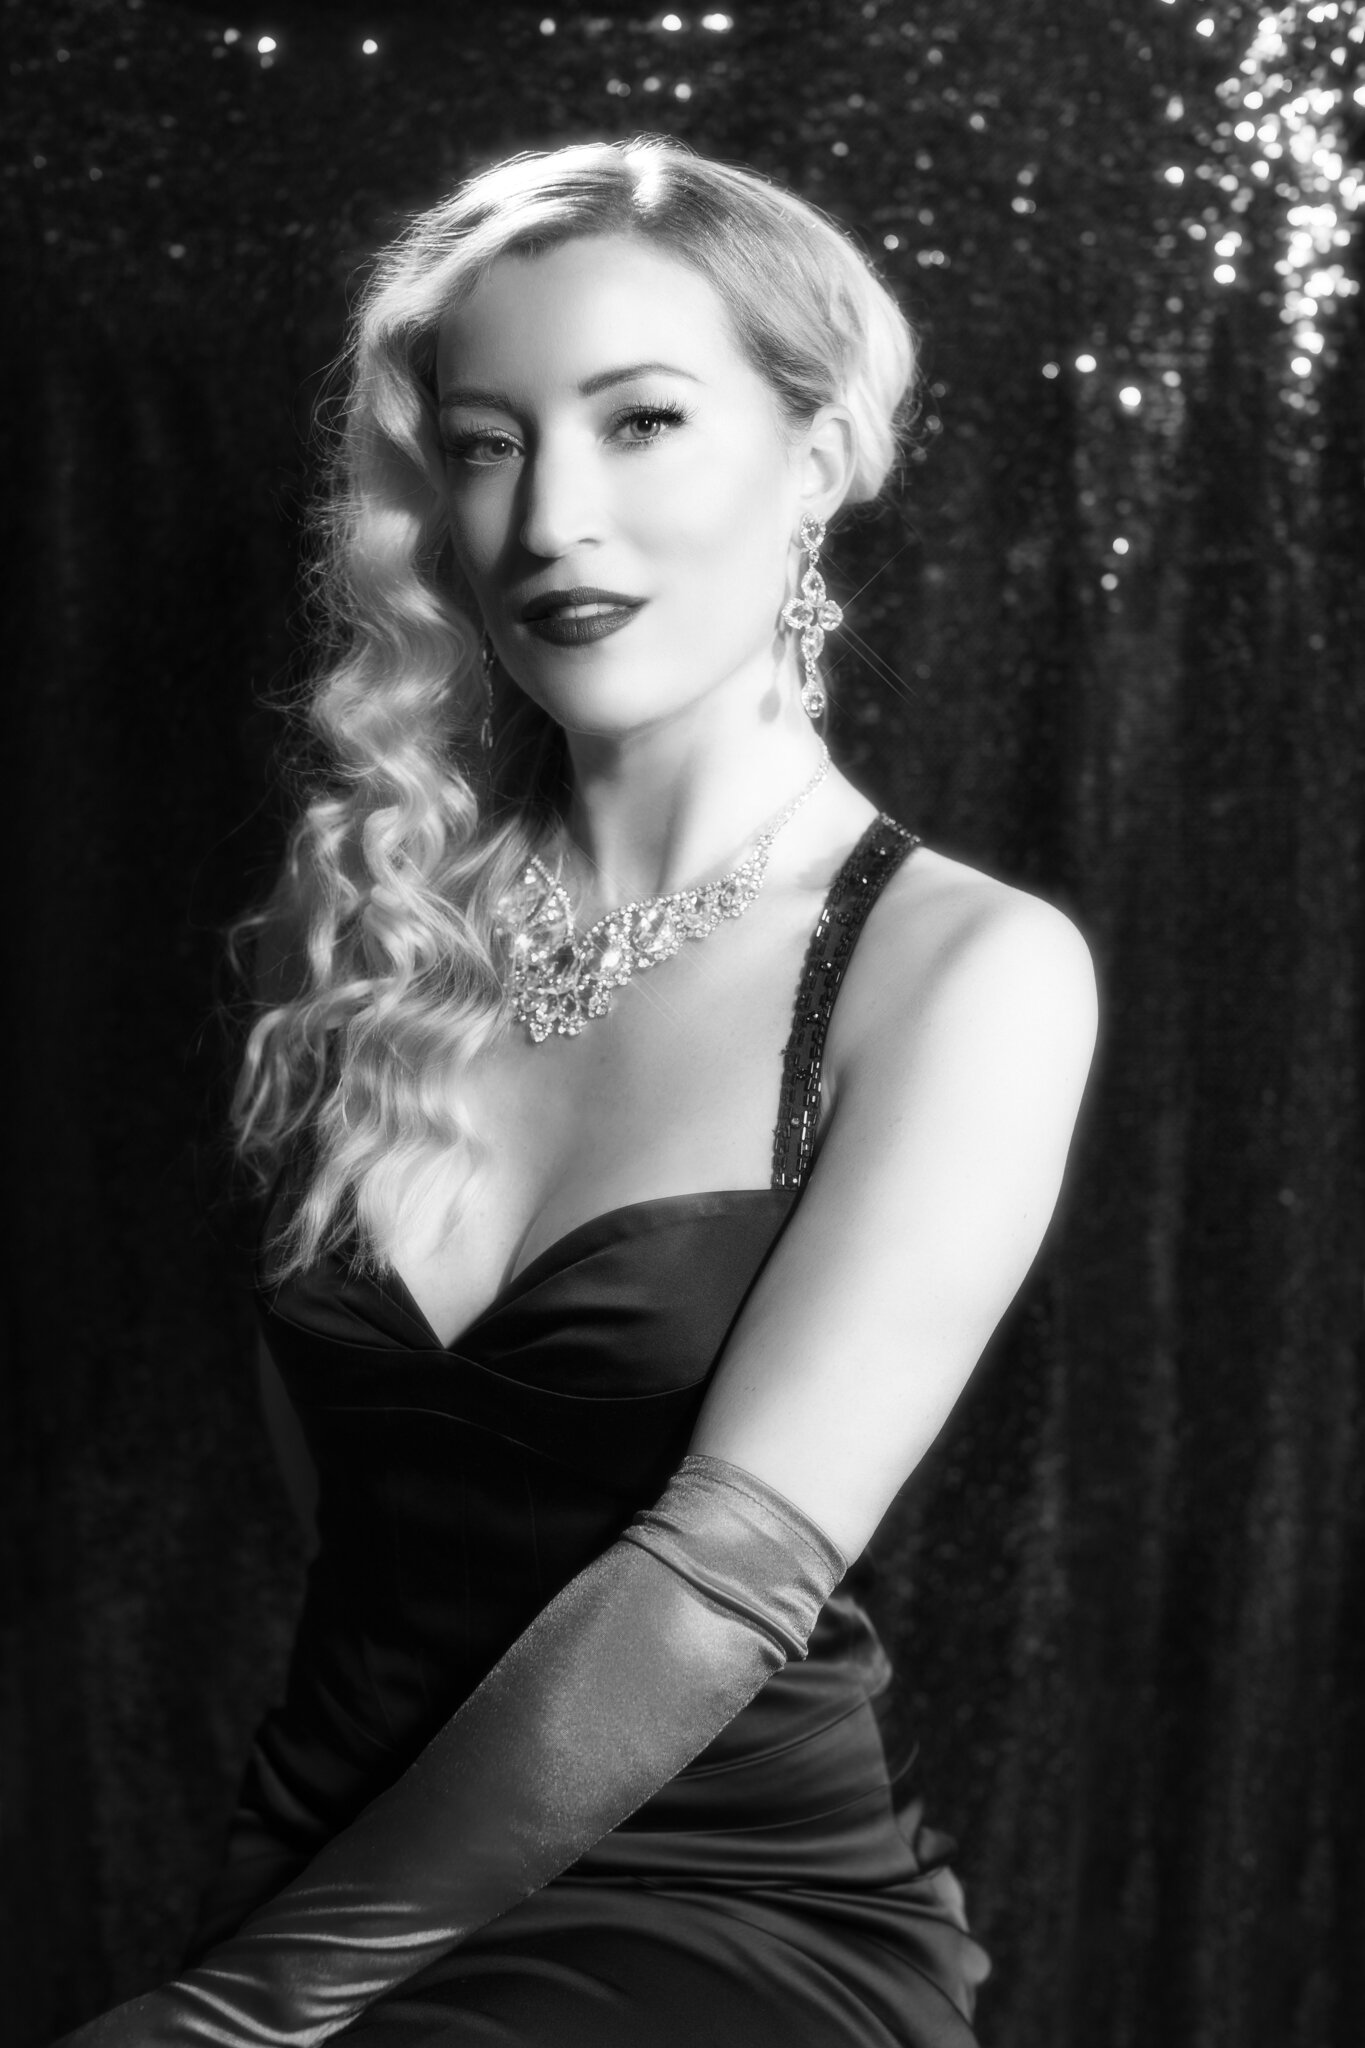
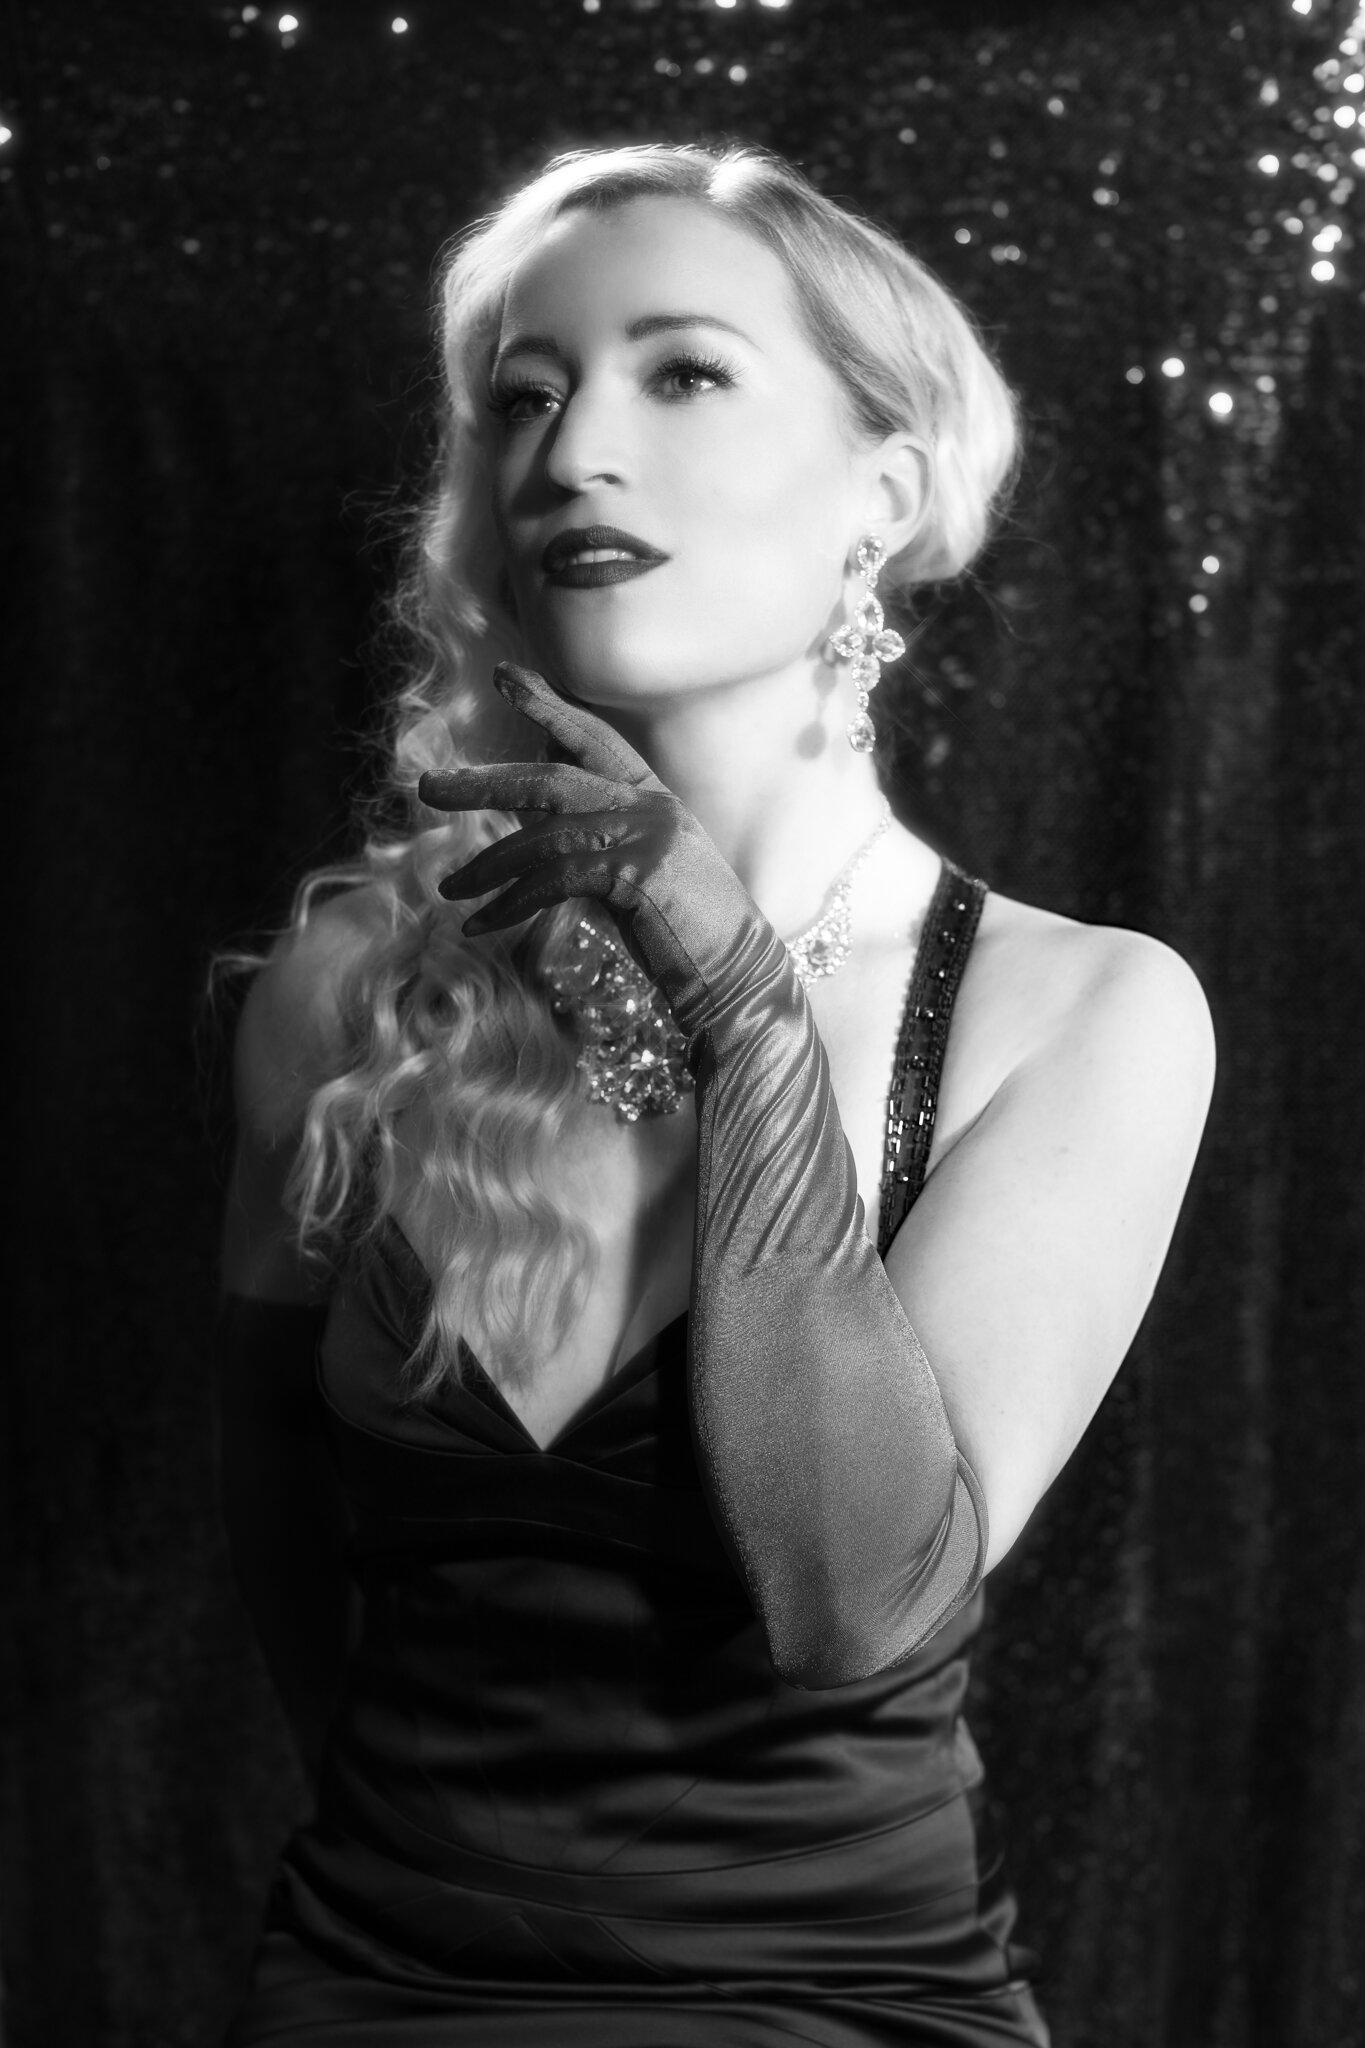
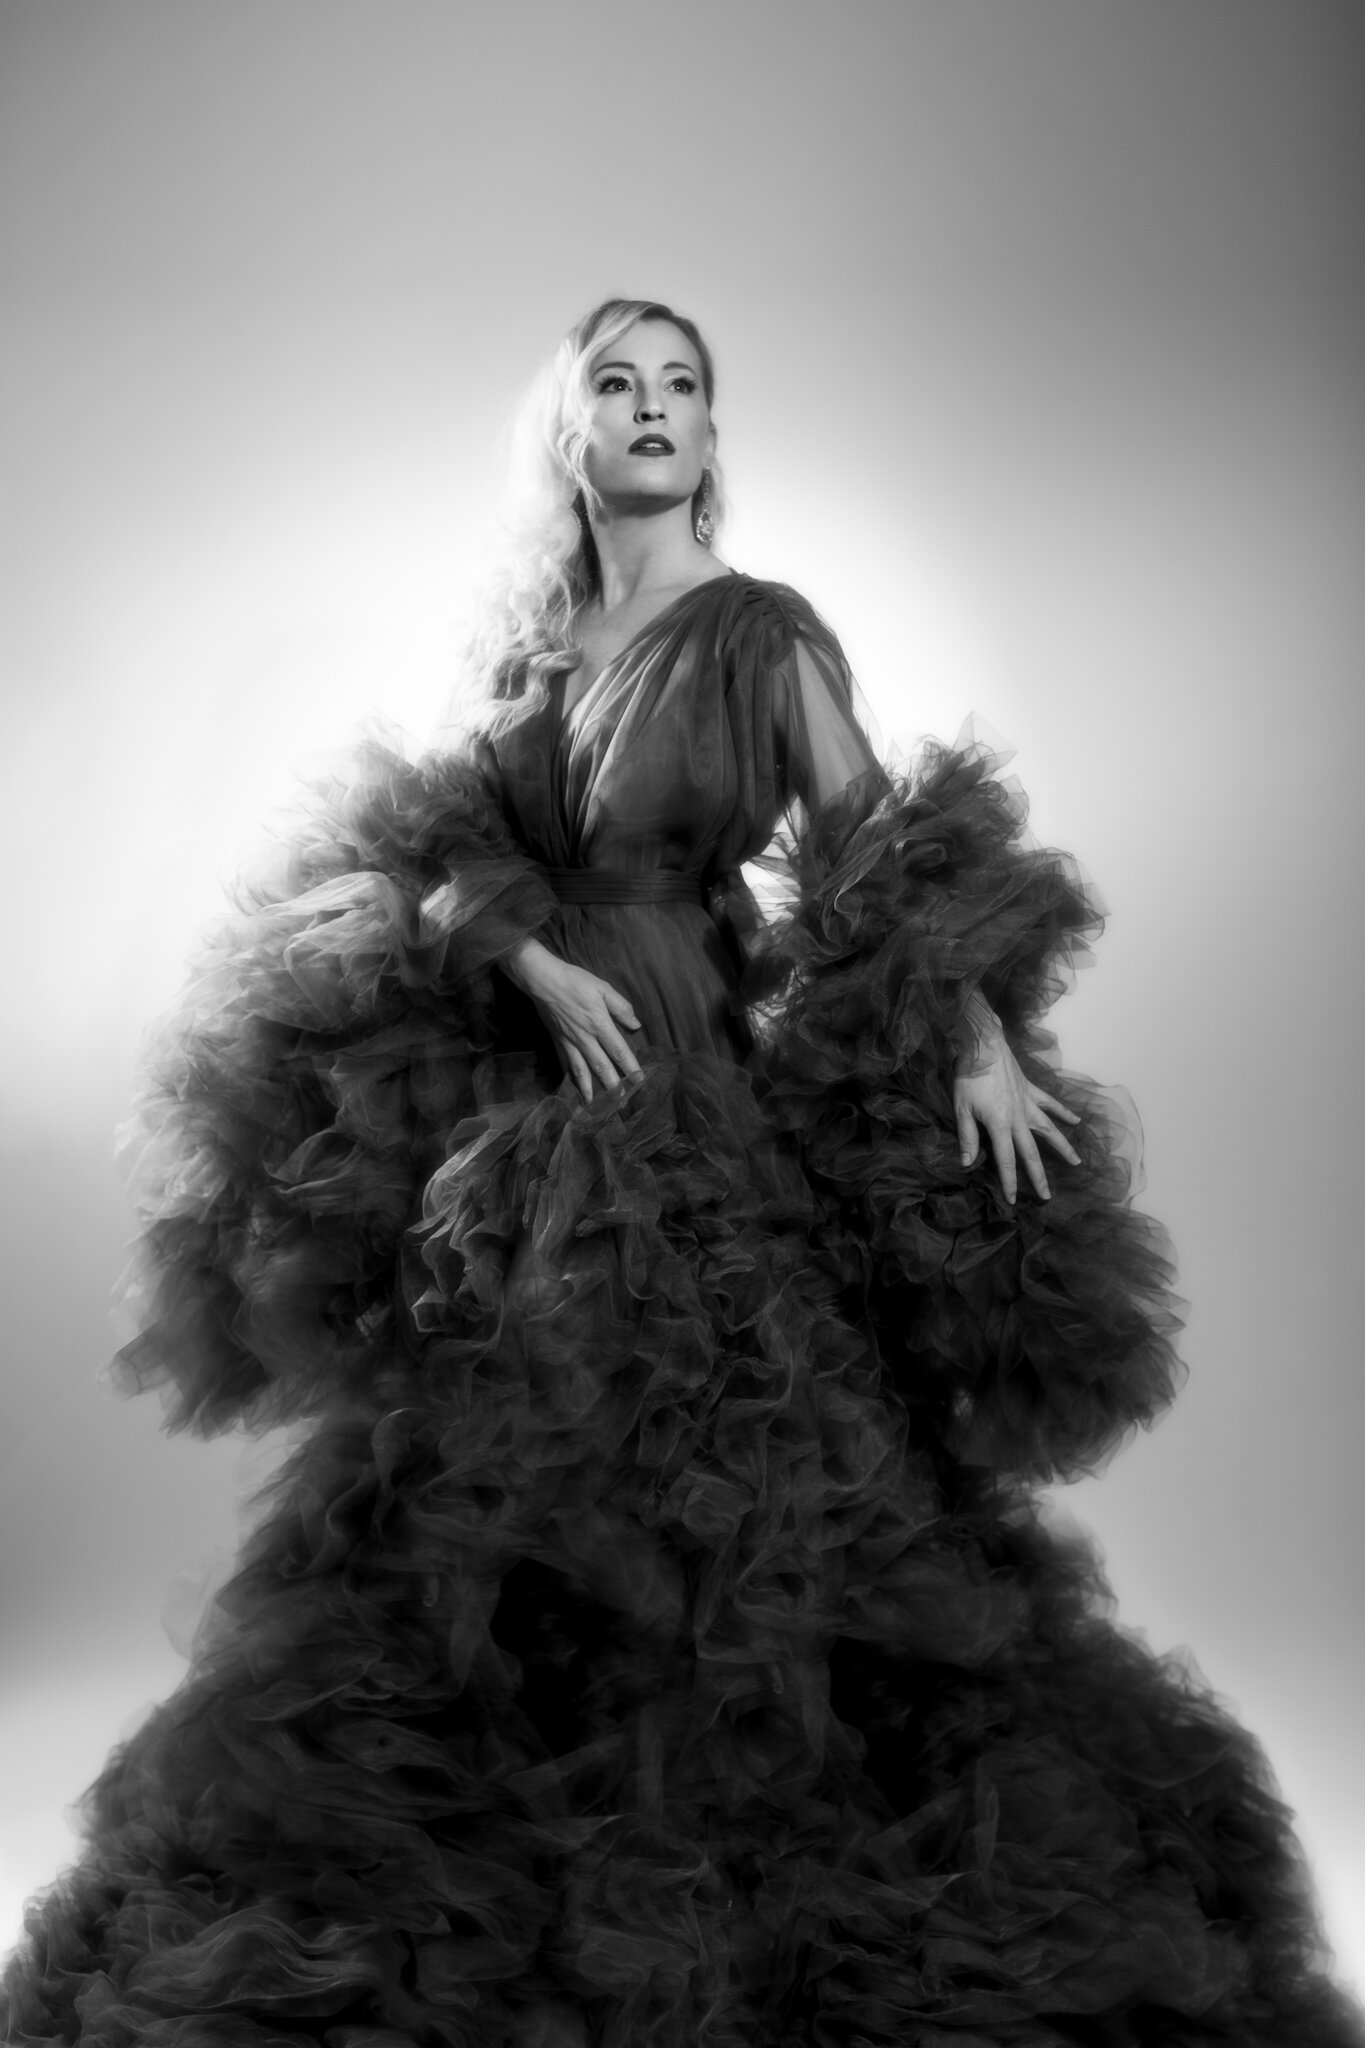
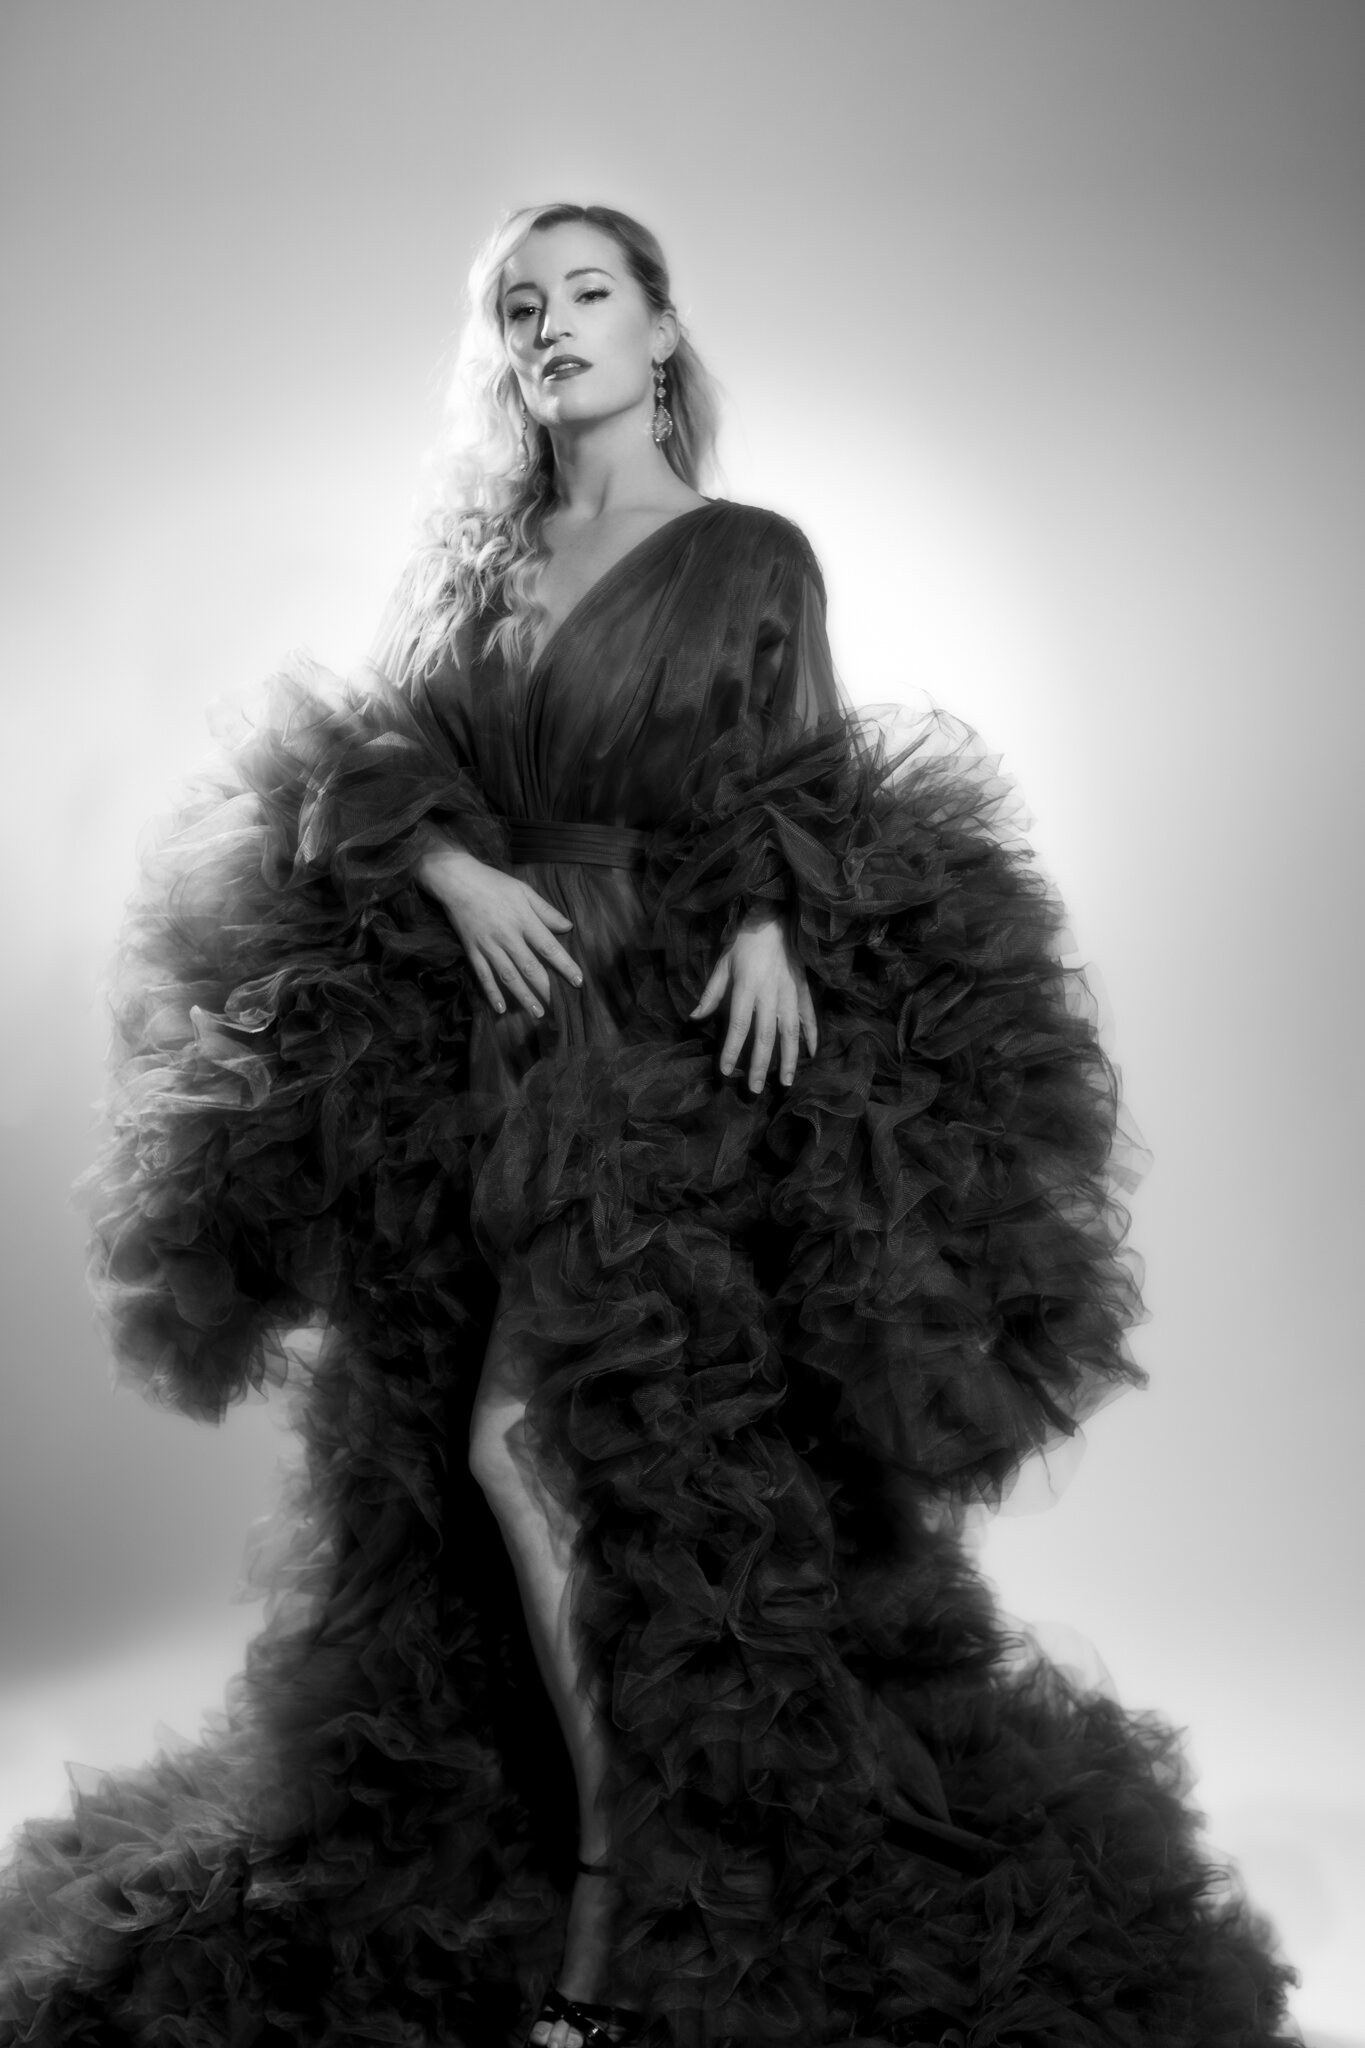
We’re in the peak of the COVID19 pandemic and I’ve been feeling paralyzed lately by not being allowed to do photo sessions, not being able to create. We’ve been staying in our homes for about 3 weeks now. Portrait photography is my passion, my profession and I miss it so much.
Self portraits have been trending lately amongst photographers on Facebook and I didn’t want to miss out on the fun either. I wanted to find a way to still be able to take pictures without risking anyone's health so the idea of doing self portraits seemed to be the best so far.
So I decided to set up the studio, style my hair, do my own makeup and take self portraits while recording the entire process. Sounds easy, huh?
But here’s the thing: I didn't just want portraits of myself. That wasn’t moving me. What I wanted was to play dress up and to feel and look like a woman and myself again, which seemed only a distant memory after 2 weeks in this weird “zombie in pajamas mode”.
The other motivation was to create a lasting memory of myself before I gain 40 extra pounds of eating out of boredom. Let’s circle back to this thought once the quarantine is over.
THE RESULT
Let’s start with the end result. These are my favorite images out of each look. I shot over 500 and I hated like 485 of them. Haha. Below I’ll walk you through my entire process. But first, the photos (click to enlarge):
THE CHARACTERISTICS OF OLD HOLLYWOOD PORTRAITS AND WHY I CHOSE THIS THEME
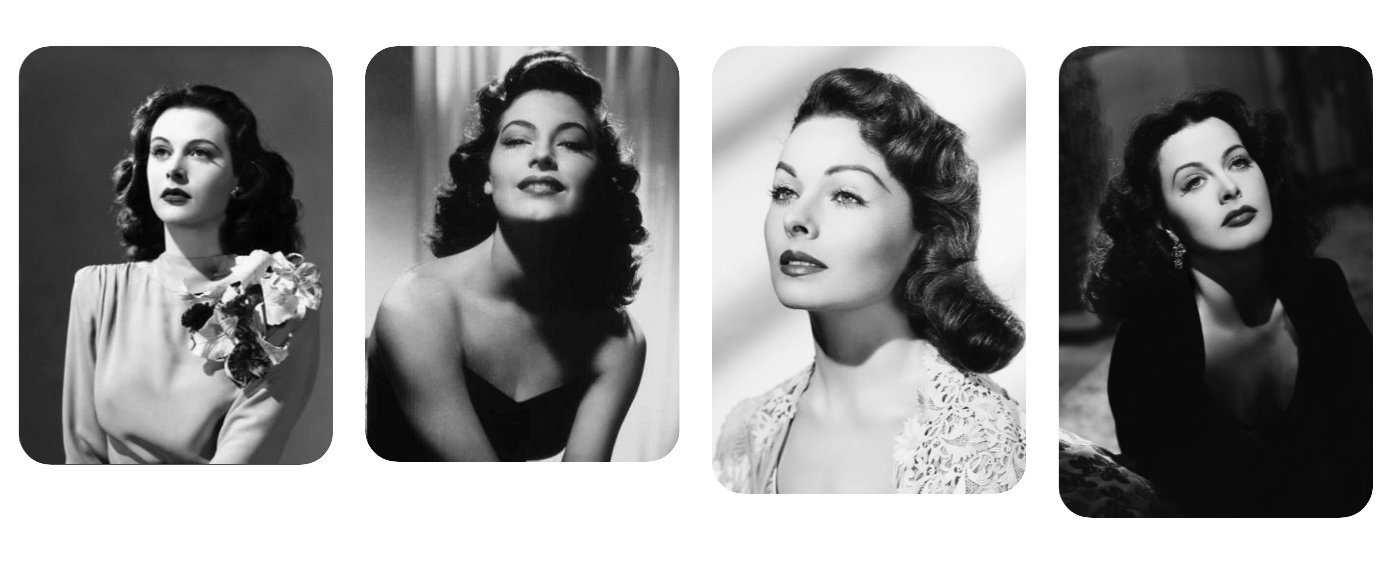
I’d been waiting for some inspiration to come so that I’d be motivated and excited when I finally had that spark when I saw another amazing photographer’s self portraits and I fell in love with the idea. Next step was going on Pinterest and start pinning like crazy (as I would always do). Everything was planned and categorized: 1 closeup, 1 half body and 1 full body look.
So what does an Old Hollywood Portrait look like?
“The classic photographs of Hollywood’s golden age conjure up visions of fantasy, romance and perfection – and these evocative images are still in great demand today. Establishments like Studio Harcourt in Paris, France, which was set up in the 1930s, have met this demand and continue to do so.
…
I’m often asked what makes a portrait ‘Hollywood’ in style. The answer is the finely controlled use of hard light from Fresnel spotlights, a narrow depth of field and a high-quality monochrome print. Vintage Hollywood also needs the right hair, make-up and styling to complete the look.” says Damien Lovegrove in his article.
Well, I have ZERO Fresnel spotlights in my studio available, in this was a random idea anyway, so I had to work with what I had available. See my list of gear used below.
I also noticed, that old Hollywood portraits have 3 distinctive key elements:
The lighting is hard with harsh shadows, very bright hair light and some sort of background lighting.
The photos are black and white
Retouchers were often over-smoothening the skin texture and hair
My Mood board ended up looking like this:
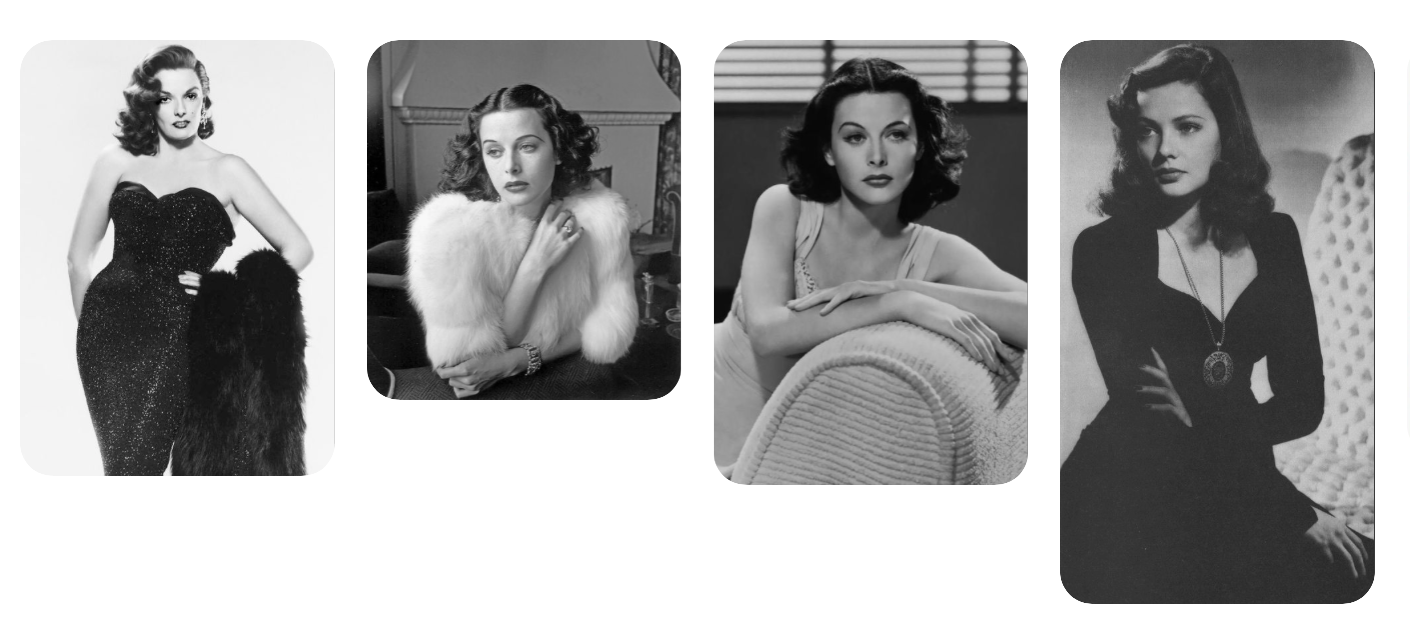
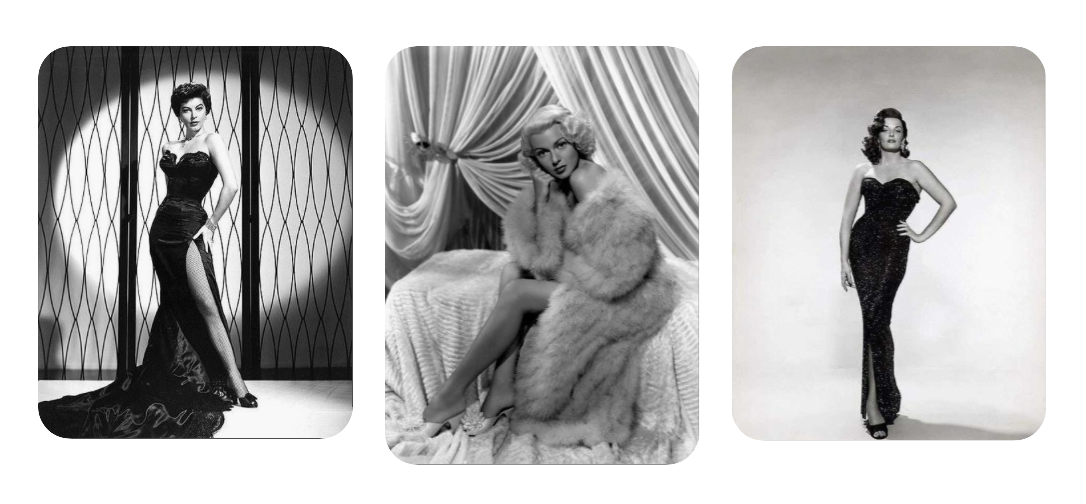
OUTFITS
My studio has a collection of dresses in different sizes that I’ve been collecting for my clients for a long time, so I knew I would find something to wear. For the 3 different looks I wanted something sparkly, something tight and something dramatic. That’s how I was picking out the dresses.
There was this gorgeous, gold embroidered black gown that I really liked but unfortunately it was too small for me. I tried real hard to squeeze myself into it but ended up almost not being able to take it off and becoming a hostage of it, so I gave up. The ones that happened to fit turned out really nice, however a note to self: it’s super hard to do pose while leaning onto an apple box in a super tight dress so next time, use that one for the standing poses.
DIY HAIR & MAKEUP - THE HARDEST PART FOR ME
Hair and makeup to achieve the desired look is key. And nothing describes my struggle with hair and makeup better than my Behind The Scenes video below. Seriously, if you want a good laugh, go watch it. I’ll give you a spoiler: I forgot to bring my foundation, I used halloween face paint to imitate red lipstick (that I don’t have) and couldn’t take the stress any longer so I turned to my roots and started drinking shots of pálinka.
I started planning my hair and makeup the day before by washing my hair a day in advance (which helps the curls and waives to last longer) and by watching these tutorials:
Hair: https://www.youtube.com/watch?v=EXVHGlWjZD4&t=2s
Makeup: https://www.youtube.com/watch?v=OgMCy6K7kMo
MY LIGHT SETUP EXPLAINED
For all four looks I used the following equipment:
Key light: Profoto B1X
Background Light: Profoto D500 Air
Hair Light: Profoto D500 Air
Profoto Air Remote
Canon 5D MK IV
Canon EF 100mm f/2.8L Macro IS USM
Canon EF 50 mm f/1.2L USM
Plus an iPad with the Canon CameraConnect app to hook it up with my camera. Having the iPad next to me allowed me to see my frame (more or less) and explore different poses without having to look at the back of the LCD screen. I’ve set my timer to 2 seconds so that I’d have time to pose after hitting the expo button.
LOOK #1
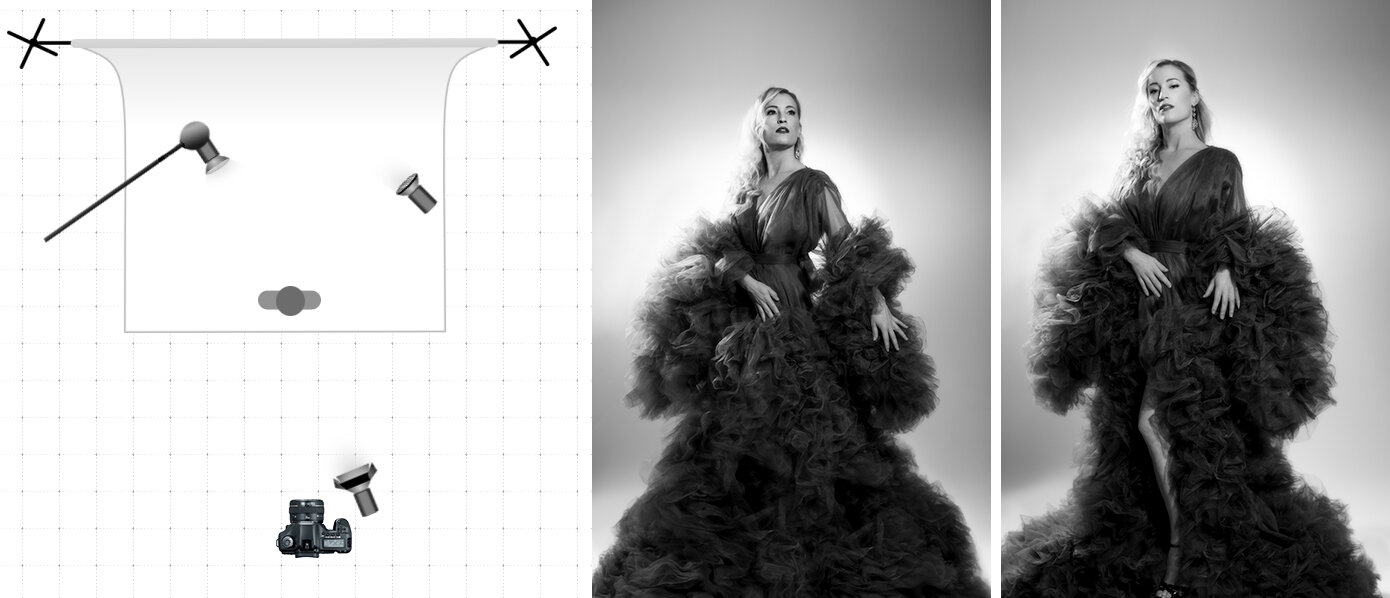
Lighting Diagram of Look #1
Key light was camera left with a barn door, my hair light was on the left behind me with a 9” reflector and in this light setup I’ve placed a DIY GOBO (not BOGO) in front of my backlight to achieve some shadows behind me. So many acronyms in one sentence. The backlight had a barn door too to concentrate the light into one area.
LOOK #2
Lighting Diagram of Look #2
My key light is to the camera right with a barn door, hair light on a boom arm behind me, higher up and tilted down with a 9 in reflector. Background light with barn door hitting the backdrop from camera right.
LOOK #3
Lighting Diagram of Look #3
This was very similar to the previous one except that I had placed the backdrop (a piece of fabric with sequins) between the hair light (9 in reflector) and myself. Well, the hair light was right above the fabric, tilted down at an angle towards me. Sorry, the diagram doesn’t exactly show this but imagine the boom arm above the background stand.
My key light is to the camera right with a barn door, background light with barn door hitting the backdrop from camera right.
LOOK #4
Lighting Diagram of Look #4
For this look I had to raise everything up as I was shooting a full body image and now my face was significantly higher that before. To achieve a radial shape, I replaced the barn door to a 30 degree honeycomb grid on my backlight. My key light is to the camera right with a barn door, hair light on a boom arm behind me, higher up and tilted down with a 9 in reflector.
BEHIND THE SCENES VIDEO
You can watch the whole thing or jump right onto the part that you’re interested in:
1. Hair - 2:18
2. Makeup - where I realize I left my foundation at home - 3:31
3. Makeup - where I come up with a (not so great) idea about how I can still make it work - 3:45
4. Breaking out the halloween face paint kit from 2018 - 17:34
5. Finally setting up the studio - 24:55
6. Making a DIY GOBO to create shades on my background - 25:15
7. Where I had to drink a shot - 26:24
8. Another Halloween prop from 2 years ago - 27:30
9. LOOK #1 - 29:32 notice the beautiful combo of yoga pants and fancy dress
10. LOOK #2 - 30:13 still couldn't care to take the yoga pants off
11. LOOK #3 - 31:04 yep, they're still on
12. LOOK #4 - 32:07 whatever
13. Bye, I can't feel my legs and lower back anymore - 29:58
CONCLUSION
Creating these images was great fun and excitement and boy was I tired at the end. It took me 6 hours from start to finish to complete all these looks (including setup, breakdown and cleaning).
Knowing what I know now, I could’ve gone for an easier light setup for my first “real” self portraits than this one. It is not hard to do when you have a model to photograph, but because the light has to fall so precisely on certain ares, it is way harder when you are fulfilling the role of the model and the photographer at the same time.
Let’s see how many hats I was wearing actually:
photographer
retoucher
model
makeup artist
hairstylist
assistant
lighting technician
producer
wardrobe stylist
caterer
janitor
Wow, I am a super woman! Haha.
On a serious note, I am so happy I did these and already looking forward to try it again (with a much simpler light setup this time). I’d love to hear your thoughts too in the comments.

